
")
Learn how to replace brake pads with confidence using my mechanic-approved techniques. This 2024 guide walks you through the entire process safely.
Table of Contents
Why This Matters More Than You Think
Let me be blunt - your brakes are the only thing between you and disaster. I learned this the hard way when my worn pads failed during a downhill drive. That heart-stopping moment changed how I approach brake maintenance forever.
Unlike oil changes, replacing brake pads isn't optional. The good news? With the right guidance, you can do this yourself and save hundreds. I've replaced pads on everything from beat-up Hondas to luxury SUVs, and I'm sharing all my hard-earned tricks.
The Telltale Signs You're Riding on Borrowed Time
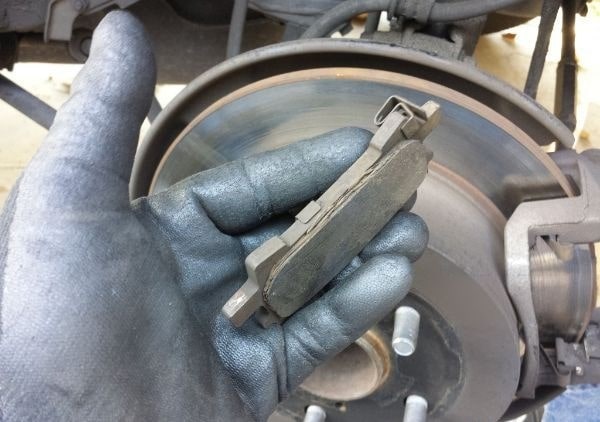
Most people wait until they hear that awful metal-on-metal grinding. By then, you're damaging rotors - a $300 mistake. Here's what to watch for:
-
The squeak test: Light braking produces high-pitched squealing? That's the wear indicator screaming for attention.
-
Pedal pulsation: If your brake pedal vibrates like a cellphone, your pads are wearing unevenly.
-
The coin trick: Insert a quarter into your pad groove. If you see Lincoln's whole head, you've got about 1,000 miles left.
Pro Tip: I keep a set of quality brake pads from SparesFlex in my garage for emergencies.
Gathering Your Battle Gear - Tools That Make the Difference
After helping dozens of friends with brake jobs, here's what actually works:
-
A real floor jack (those factory scissor jacks are death traps)
-
Breaker bar for stubborn lug nuts (trust me, you'll need it)
-
C-clamp with a grooved head - grips the piston better
-
Sil-glide lubricant (the blue stuff mechanics actually use)
-
Torque wrench - because "good enough" isn't when your wheels are involved
The Step-By-Step Process I've Perfected
Lifting Safely - Don't Skip This Life-Saving Step
I once saw a car slip off ramps - terrifying. Here's how to do it right:
-
Chock the rear wheels with bricks
-
Lift at the manufacturer's marked points (not the oil pan!)
-
Place jack stands AND keep the jack lightly engaged
The Wheel Removal Trick Most DIYers Get Wrong
Before removing lugs:
-
Crack them loose while the car's on the ground
-
Once lifted, finish removing by hand
This prevents the wheel from spinning dangerously
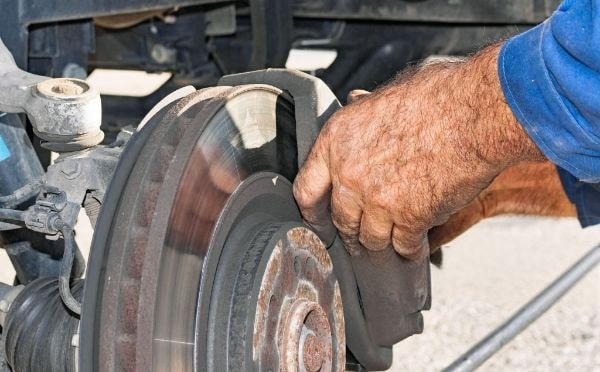
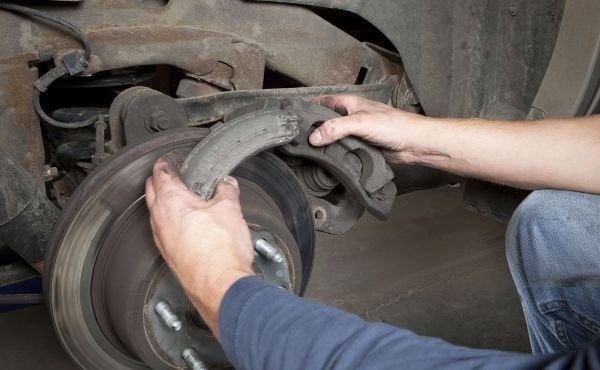
Dealing With Stubborn Calipers - My Mechanic's Secret
If the caliper bolts won't budge:
-
Spray with PB Blaster and wait 10 minutes
-
Use a six-point socket (not 12-point!)
-
Tap the bolt head sharply with a hammer to break corrosion
The Right Way to Seat New Pads (90% Do It Wrong)
Most people just slap them in. Here's what pros do:
-
Scrub the rotor with brake cleaner
-
Apply high-temp grease to pad backing plates
-
Bed them in properly with 10 gradual stops from 40mph
The 3 Costly Mistakes That Could Ruin Your Brakes
-
Reusing old hardware - Those clips and shims wear out. New pads need new hardware.
-
Forgetting to pump the brakes - Your first stop could be scary if you don't reset the piston.
-
Over-torquing lugs - Warped rotors often come from uneven lug nut pressure.
When to Throw in the Towel and Call a Pro
If you see:
-
Brake fluid leaks
-
Severely grooved rotors
-
Stuck pistons that won't compress
It's time to visit a trusted mechanic. Your safety isn't worth the savings.
Final Checks That Could Save Your Life
Before hitting the road:
-
Visually confirm all parts are secured
-
Test brakes at low speed in a parking lot
-
Listen for abnormal noises
-
Check fluid level after pad seating